Blog Content Automation: Tools That Save You Hours Each Week
Steve HalabiUpdated on
Introduction:
Automate the Busywork and Focus on What Matters
If you’re spending hours each week planning, writing, designing, and promoting blog content manually, you’re leaving growth on the table. Blog automation isn’t about doing less. It’s about doing better, faster.
With the right tools, you can automate repetitive tasks, eliminate distractions, and create space for high-impact work that moves your brand forward. This guide walks you through smart, practical tools that streamline every part of your blogging workflow – from first draft to final promotion.
Whether you’re a solo blogger or scaling a digital business, the automation tools in this post will help you reclaim your time, stay consistent, and build momentum that lasts.
Disclosure: When you buy through a link on this site, I may earn a commission at no extra cost to you.
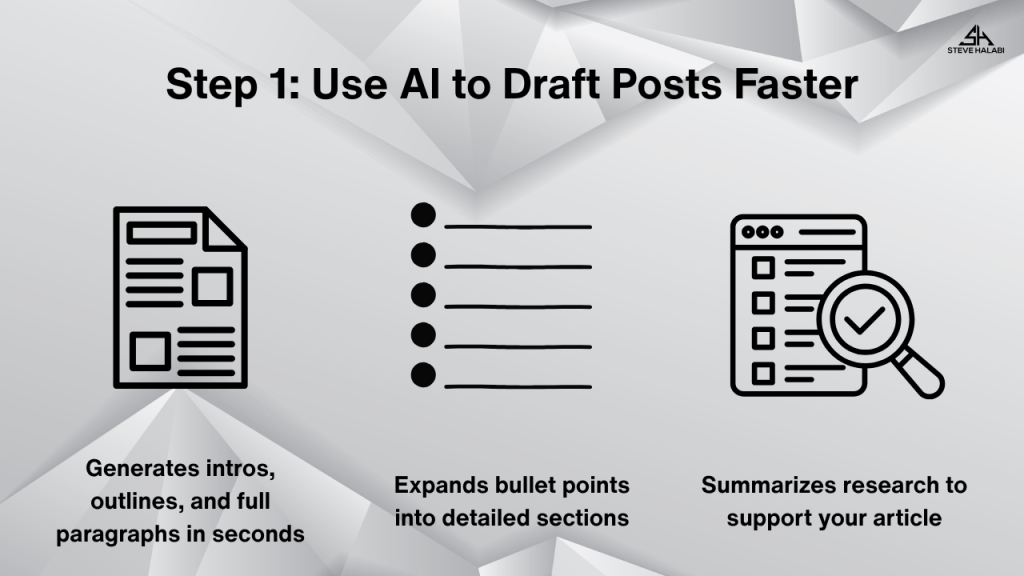
Step 1: Use AI to Draft Posts Faster
Writing a blog post from scratch can take hours, especially if you’re researching, outlining, and editing on your own. AI writing tools help you skip the blank page and move straight into drafting, giving you a clear head start on every piece of content.
How AI Speeds Up Drafting:
Generates intros, outlines, and full paragraphs in seconds
Expands bullet points into detailed sections
Rewrites awkward or unclear text
Creates variations for CTAs, hooks, or headlines
Summarizes research to support your article
Tools like ChatGPT and Jasper allow you to plug in a prompt or blog idea and get a draft ready in minutes. You still apply your voice and expertise, but the heavy lifting is already done.
Pro Tip: Use AI to draft sections you typically avoid or overthink, like introductions or transitions. This builds momentum and helps you stay consistent.
“Jasper is a fast, reliable AI assistant for bloggers who want to move from idea to draft without slowing down. Click here to discover how it can reduce your writing time by half!”
Get Started Here! Jasper
Step 2: Automate Your Content Calendar
A content calendar is the backbone of a consistent blog strategy, but managing it manually can consume time quickly. Automating your calendar with tools like Notion, Trello, or CoSchedule keeps your publishing pipeline organized without constant oversight.
What Automation Looks Like:
Auto-schedule publishing dates based on your workflow
Set recurring tasks for blog writing, editing, and promotion
Use labels or tags to categorize by status or content pillar
Trigger reminders and deadline alerts to stay on track
Link ideas and swipe files directly to scheduled posts
When your calendar updates automatically, you avoid missed deadlines and reduce the need for last-minute content scrambling.
Pro Tip: Integrate your calendar with project management tools like ClickUp or Trello to streamline your workflow. Add checklists for each blog phase to help you move posts through each stage quickly.
“Trello makes it easy to automate blog planning with built-in workflows, labels, and drag-and-drop scheduling. Click here to streamline your calendar and free up your headspace!”
Get Started Here! Trello
Step 3: Turn Outlines Into Full Posts With Jasper
If you have already created outlines for your blog posts, Jasper can help you transform bullet points into polished content quickly. Instead of writing each section from scratch, use AI to expand your outline into full paragraphs while keeping your tone and structure intact.
How Jasper Streamlines Content Creation:
Fills in each section of your outline with on-brand writing
Let’s you guide the tone, style, and depth of content
Provides alternative phrasing or examples to improve clarity
Integrates with SurferSEO for optimization while you write
Works well for tutorials, reviews, and long-form guides
This saves time and energy, especially when you’re managing multiple posts or building out a content cluster.
Pro Tip: Write a strong introduction and conclusion yourself, then let Jasper fill in the body. This keeps the article personal while automating the bulk of the writing.
“Jasper takes your blog outlines and transforms them into full, well-structured articles in a fraction of the time. Click here to try it and see how quickly your next post comes together!”
Get Started Here! Jasper
Step 4: Use SurferSEO for Live Optimization
Writing content is only half the job. To rank well in search engines, your blog posts need proper optimization. SurferSEO simplifies this by giving you live, data-driven guidance as you write, helping you hit SEO targets without guessing.
What SurferSEO Automates:
Real-time content scoring based on your keyword
Suggestions for headings, keyword usage, and word count
Semantic keyword recommendations pulled from the top-ranking pages
Competitive comparisons to help you close gaps
Integration with Google Docs, Jasper, and WordPress
Surfer’s Content Editor turns SEO into a checklist you can follow as you write, so you’re never publishing blindly.
Pro Tip: Use Surfer before writing to build an outline, then again after drafting to polish your content with key suggestions.
“SurferSEO is the fastest way to optimize blog posts without hiring an SEO expert. Click here to get started and publish posts designed to rank!”
Get Started Here! SurferSEO
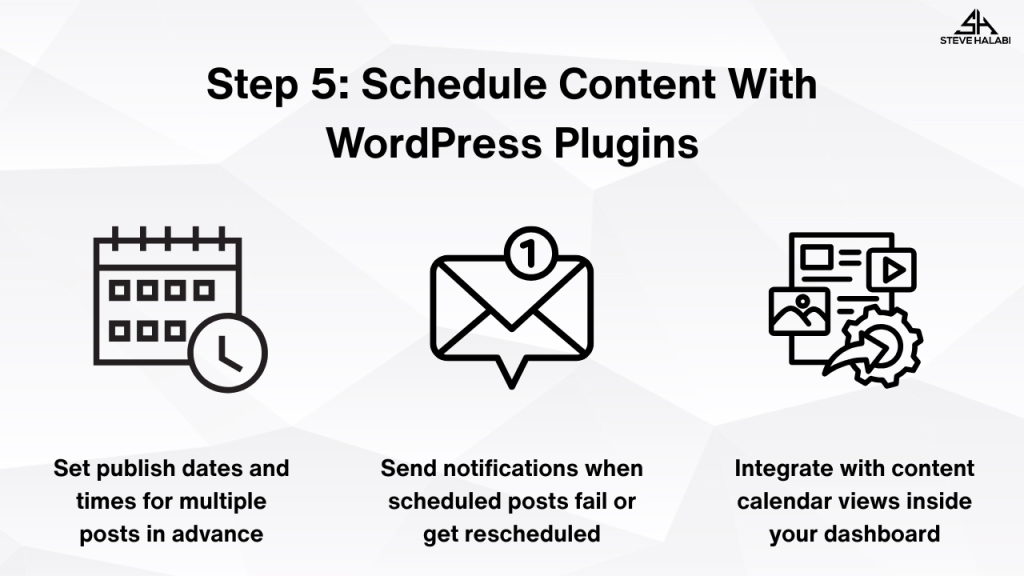
Step 5: Schedule Content With WordPress Plugins
If you’re managing your blog with WordPress, manually scheduling content can become a tedious task. Thankfully, several plugins allow you to automate publishing, so your posts go live exactly when you want, without needing to log in on release day.
What These Plugins Help You Do:
Set publish dates and times for multiple posts in advance
Automatically change post status from draft to scheduled to published
Send notifications when scheduled posts fail or get rescheduled
Integrate with content calendar views inside your dashboard
Reshare or recycle evergreen content automatically
Popular plugins like PublishPress, WP Scheduled Posts, and Editorial Calendar give you full control over your blog timing.
Pro Tip: Set your blog posts to publish at the same time each week. This helps build audience habits and enables you to stay consistent without extra effort.
“PublishPress is one of the easiest ways to automate post scheduling and editorial workflows inside WordPress. Click here to set up a more consistent, hands-free publishing schedule!”
Get Started Here! PublishPress
“Grab the eBook that shows you how to combine automation tools with a simple content system to save hours every week. If you want to publish more without adding to your workload, this guide will show you how! “
Once your blog post is published, promoting it manually on every social platform takes time. Content automation tools enable you to schedule or auto-share your posts across multiple channels, keeping your audience engaged with minimal effort.
What This Automation Includes:
Auto-posting to Facebook, LinkedIn, Twitter, and Pinterest
Custom captions for each platform
Post recycling for evergreen content
Link tracking and analytics built in
Integration with WordPress, RSS feeds, and content planners
Tools like ContentStudio, Missinglettr, and Buffer make it easy to keep your blog visible without needing to log in daily.
Pro Tip: Create a promotion sequence template for each blog post. Use it to plan the first share, a follow-up tip post, and a quote or visual teaser. Load these into your tool and schedule once.
“ContentStudio helps you auto-share blog posts and schedule cross-platform content without logging into every social app. Click here to set up your social promotion flow and save hours every week!”
Get Started Here! ContentStudio
Step 7: Create Branded Graphics With Canva Templates
Designing blog visuals from scratch can be time-consuming, especially when creating featured images, pins, carousels, and quote cards for every post. Canvaenables you to automate this process by creating reusable templates that maintain your visuals’ consistency and on-brand appearance.
What You Can Automate With Canva:
Blog featured images with drag-and-drop titles
Pinterest graphics using Magic Resize
Social quote templates based on blog excerpts
Lead magnet covers or promo visuals
Branded elements like logos, fonts, and color schemes
Once your templates are set, you can reuse them for every post with just a few edits, saving time and improving brand recognition.
Pro Tip: Create a Blog Graphics Kit folder in Canva with 3-5 template variations. Use these as your go-to layouts for every piece of content.
“Canva Pro helps you create, organize, and reuse branded visuals without touching a design app. Click here to streamline your graphics and build a professional visual presence in less time!”
Your blog content doesn’t have to stop at the post itself. With the right tools, you can turn every blog into a series of automated emails that nurture your list, deliver value, and promote your offers without writing from scratch.
How to Automate Email Repurposing:
Break your blog post into 3 to 5 email-sized lessons or tips
Use AI tools to rewrite sections for email tone and format
Load the emails into an autoresponder series inside your email platform
Tag readers and segment based on their interest in the topic
Set delivery timing to send emails days or weeks apart automatically
This approach turns each post into an evergreen email asset that continues to work behind the scenes.
Pro Tip: Use your blog’s intro and outline to map out your email flow. Each subheading or bullet point can be developed into a separate email with a single call to action.
“KIT (ConvertKit) makes it easy to turn blog content into automated email sequences. Click here to start building a content-powered email funnel for your blog!”
Get Started Here! KIT
Step 9: Track Performance With Google Looker Studio
Creating content is only part of the equation. If you don’t track what’s working, you’re guessing instead of improving. Google Looker Studio (formerly Data Studio) helps you automate blog performance reports, enabling you to make smarter decisions with real data.
What Looker Studio Helps You Track:
Blog traffic by post, category, or source
Conversion rates on lead magnets or CTAs
Time on page and bounce rate trends
Social referral performance
Top-performing posts by traffic or engagement
You can connect Google Analytics, Search Console, and other tools to create a visual dashboard that updates automatically, eliminating the need for spreadsheets or manual data pulls.
Pro Tip: Set up a dashboard that tracks weekly blog traffic, most clicked CTAs, and new subscribers from blog opt-ins. Use this data to decide what to update, repurpose, or promote next.
“Google Looker Studio helps you track your blog’s performance in real time so you can double down on what works. Click here to create a dashboard that keeps your content strategy on track!”
Get Started Here! Looker Studio
Step 10: Batch Tasks With Trello or Notion Workflows
One of the simplest forms of blog automation is batching. Instead of switching between research, writing, editing, and publishing every day, you can use tools like Trello or Notion to group and automate your content workflow into focused sessions.
How Batching Works With Workflow Tools:
Assign stages like… Idea, Outline, Draft, SEO, and Published
Create checklists for each task and reuse them for every post
Move content through stages using drag-and-drop boards
Set due dates and trigger reminders to keep the pipeline flowing
Use linked databases or boards to coordinate with your team or VA
This approach helps reduce context switching and gives you a repeatable system to scale your content creation without burnout.
Pro Tip: Batch your blog outlines one day a week, then write them all in one sitting. Do the same for image creation, SEO optimization, and email promotion.
“Trello is one of the easiest ways to build a visual, automated workflow for your blog. Click here to organize your process and publish more consistently!”
Get Started Here! Trello
Step 11: Use Zapier to Connect Your Blogging Stack
Zapier lets you automate repetitive blogging tasks by connecting your favourite tools. It acts as a bridge between apps, helping you move data, trigger actions, and eliminate manual steps without needing code.
How Bloggers Use Zapier:
Send new blog posts from WordPress to Buffer or Twitter automatically
Add new swipe file entries from Pocket to Notion
Trigger email sequences in Kit after publishing a post
Save new content ideas from form submissions or DMs into Trello
Sync data from Google Forms or Sheets into your blog project board
With over 6,000 app integrations, Zapier helps you create a personalized automation system that works behind the scenes while you focus on writing.
Pro Tip: Start with just one zap that saves you 10 minutes a week. Over time, small automations will add up to big time savings.
“Zapier helps you connect your blogging tools and automate tasks that slow you down. Click here to try it and streamline your content system from start to finish!”
Get Started Here! Zapier
Step 12: Automate Image Compression and SEO
Large image files can slow down your site, harm your SEO, and create a poor user experience. Manually resizing or compressing images can be tedious, but automation tools can handle it for you every time you upload a new file.
What You Can Automate:
Compress images without losing quality
Rename files for SEO based on the post title or keyword
Add alt text automatically based on image context or preset tags
Convert files to web-optimized formats like WebP
Strip unnecessary metadata for faster loading
Plugins like ShortPixel, Imagify, and Smush integrate directly with WordPress and process your images in the background. You upload, and they handle the optimization.
Pro Tip: Set your automation tool to resize images to your theme’s default width before compression. This keeps your design clean and your site fast.
“ShortPixel helps you automate image compression, alt text, and SEO optimization without extra effort. Click here to improve site speed and search rankings with zero manual work!”
Get Started Here! ShortPixel
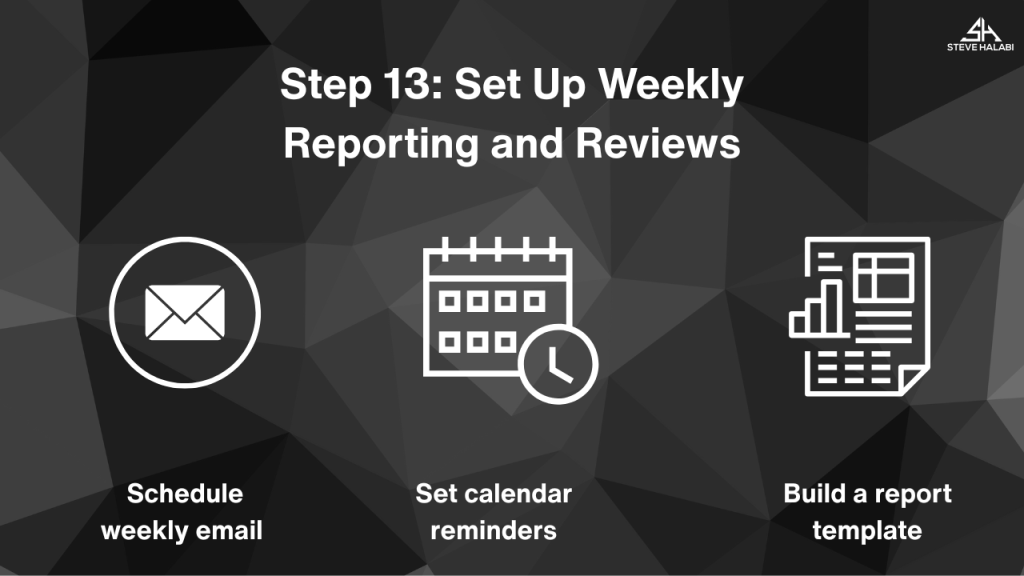
Step 13: Set Up Weekly Reporting and Reviews
Automating your blog strategy isn’t just about content creation. It’s also about building in reflection so you can double down on what’s working. Setting up a weekly review process keeps your goals in focus and your results improving.
How to Automate Your Weekly Review:
Use dashboards like Google Looker Studio to track blog traffic, opt-ins, and conversions
Schedule weekly email digests with performance summaries
Set calendar reminders for blog review sessions
Use Notion, Trello, or ClickUp to log wins, blockers, and ideas
Build a report template you can review in under 15 minutes
This habit helps you identify which posts are performing best, which automations are saving time, and where to refine your strategy next.
Pro Tip: Keep your blog KPIs front and center by pinning your dashboard to your browser home page. You’ll stay aligned without having to dig for data.
“ClickUp lets you track content performance, store notes, and automate recurring review tasks all in one place. Click here to set up your weekly blogging HQ!”
Get Started Here! ClickUp
Conclusion: Automation Helps You Blog More, Stress Less
Blog content automation isn’t about replacing your creativity, it’s about protecting it. By automating repetitive tasks such as drafting, optimizing, designing, and distributing, you free up time to focus on what truly matters: creating content that builds trust, drives traffic, and grows your brand.
Even a few simple automations can save hours each week. Over time, those hours add up to greater consistency, improved performance, and reduced burnout.
Ebook: Content Systems That Keep You Consistent
Streamline Your Content Workflow So You Can Publish More Without Adding Hours
Automation isn’t about replacing your work, it’s about making it easier to stay consistent. This eBook shows you how to combine smart tools with a reusable content system so your blog, email, and social media all run smoothly without constant hands-on effort.
Here’s what you’ll learn inside:
How to set up a simple content workflow that’s easy to follow
Tools that automate repetitive tasks and save you hours each week
How to keep your publishing schedule consistent across platforms
Ways to adapt your system as your content needs grow
This eBook is for you if:
You’re ready to combine automation with a system that actually lasts
You’re spending too much time on repetitive content tasks
Introduction: Creating high-quality blog content consistently can feel overwhelming, especially if you’re starting from scratch every time. But successful…